Volunteers, pastors, and operational handoffs
A fifteen-minute church sound check a volunteer can run
A timed fifteen-minute church sound check for volunteers: power-on order, line check, gain, monitors, stream feed, wireless batteries, a final walk, what to do when something fails and the shutdown order. Includes a printable card.


On this page
- When should you change the batteries?
- What order should you turn the equipment on?
- What do you check first once it is on?
- How do you set the gain?
- What about monitors?
- What do you check on the stream feed?
- What is the final walk?
- What do you do when something fails?
- What order should you shut down?
- A printable fifteen-minute sound check card
- When is another approach better?
- Frequently asked questions
It is 8:45 on Sunday and you are the one who has the key to the booth. The mixer has more knobs than you have used, the band arrives in twenty minutes, and the person who normally does this is away. You do not need to know everything. You need a short order of things to do, in the same order every week.
A fifteen-minute sound check goes: fresh batteries in the wireless packs, power on in order, check every input reaches the mixer, set each level, check monitors, check the stream feed, then walk the room. You can run this with no training beyond one read-through, and a card at the end is ready to print.
Ten-minute win: If you only have ten minutes, do these four sections below: batteries, power-on, line check and gain. Put fresh batteries in and switch the packs on, power on, check each mic and set the levels.
When should you change the batteries?
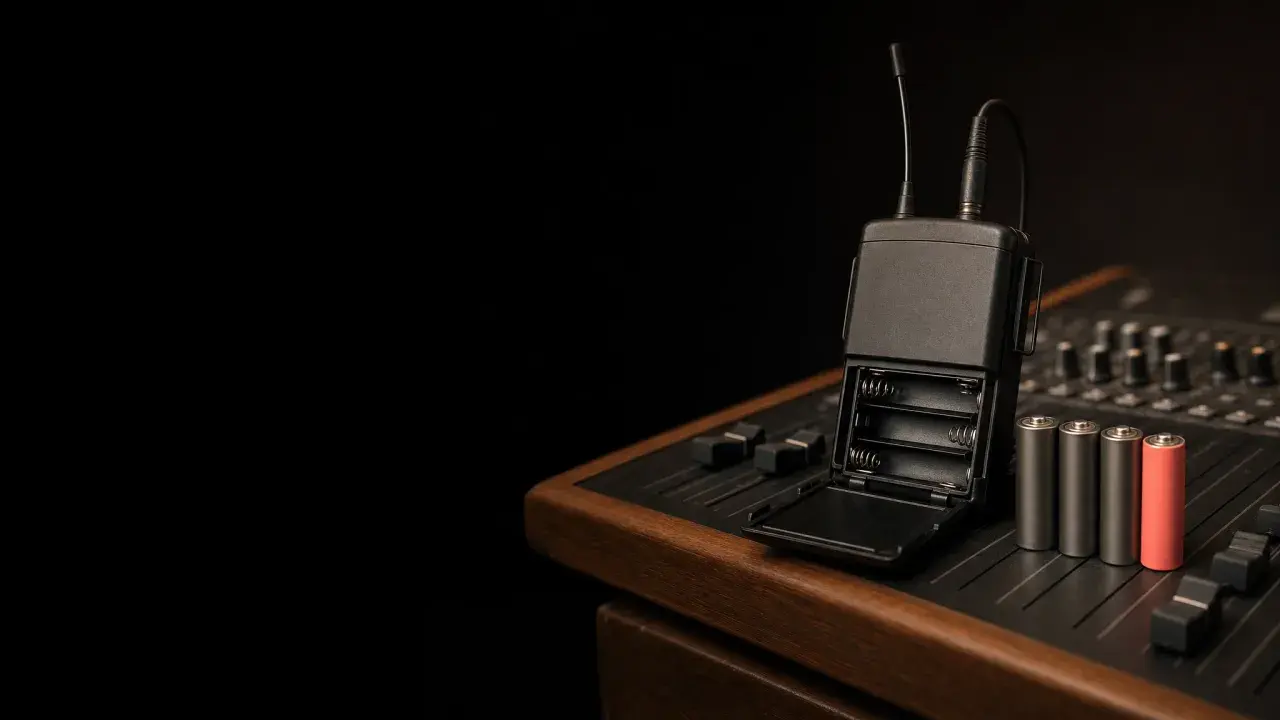
Before every service, if the packs are not rechargeable. Shure's question of the month from 15 April 2016 (checked 9 November 2026) says a fresh set of two AA alkaline cells should last for 8 hours in that body-pack, and that the red LED means less than 30 minutes left. It also says to turn a pack on five minutes before you begin, because cells that have been resting can show a misleadingly good reading at first.
That is one model from 2016, so use it as a guide and not a promise. Look at your own pack's manual. Our suggestion: put fresh batteries in every pack every Sunday and use the old ones in the remote control. A pair of cells costs less than a pastor's mic going silent mid-sermon.
Free printable PDF
Sunday setup and teardown checklist
What is inside
- A timeline that answers “what’s next?” Early week, 60, 30 and 10 minutes out.
- The setup order, with the real settings. YouTube and Facebook numbers, each traced to its source.
- The four backups that save a Sunday. Recording, slides, internet and batteries.
- A teardown and a handover. Who does what, plus what to fix next week.
Enter your email and confirm a code to download. We email you a copy the first time each day.
What order should you turn the equipment on?
Turn everything on with the amplifiers or powered speakers last. This is the standard advice in a ProSoundWeb tip dated 20 August 2010, supplied by Sweetwater (checked 9 November 2026): "Always make sure that your power amps are the last item turned on and the first turned off." The reason it gives is that many pieces of audio equipment make a power spike, or a "thump," when switched on and off, and that can damage speakers that are not protected.
In practice: playback devices and wireless receivers first, then the mixer and any processor, then the amplifiers or powered speakers. Before you switch on, turn the main volume on the mixer all the way down. Check your equipment's manual, because a few processors state their own rules.
What do you check first once it is on?
Check that every input reaches the mixer. This is a "line check." Someone walks the stage and speaks into, or taps, each microphone in turn while you watch the meter for that channel.
If a channel stays silent, work down the chain. The mixer channel is on, the fader is up, the receiver is on, the transmitter is on and the cable is plugged in. James Wasem's 6 Steps to a Better Soundcheck (undated page; it notes a ChurchTechToday original dated 2017; checked 9 November 2026) puts this before the band even plays: "test each input and output connection on stage."
How do you set the gain?
Gain is the input level, the knob at the top of each channel that decides how loud a microphone arrives at the mixer. Too low adds noise. Too high causes distortion.
Ask the person to speak or sing at the volume they will use in the service, and turn the gain up until the meter peaks in the target zone. The target depends on the mixer. One church-focused guide to the Behringer X32 (1 April 2024, checked 9 November 2026) says to aim for peaks of about -12 dB to -6 dB on the channel meter, in the yellow, not the red. Other mixers differ, so check the quick-start guide for yours and write its number on your card.
Do not set the level by raising the fader. Gain first, fader second. Wasem says to set gain one source at a time and "remember to soundcheck the pastor's mic!" The pastor's mic is the one that matters most and the one most often skipped.
What about monitors?
Monitors are the speakers or earpieces that let the people on stage hear themselves. If there is a band, ask each person what they need more or less of, one at a time, and change one thing per request. Keep them below the point where the microphones ring, a high whistle called feedback. If a mic starts to squeal, lower that channel or its monitor first, not the whole mix.
If you have no band, the only monitor may be the speaker's floor wedge. Check it is on and not pointing into the microphone.
What do you check on the stream feed?
If the service is streamed, send some sound to it and listen. Open the stream or recording on a phone or laptop, not the house speakers, and check three things: you can hear the speaker, you can hear the music, and neither is clipping. A stream mix is different from the room mix, and a speaker who sounds loud in the room may be quiet on the stream. This part is our suggestion, because none of the sources we checked gave a procedure for it. For problems with the stream software itself, see our guide to common OBS problems and fixes.
What is the final walk?
Walk to the back, the middle and the front of the room while someone speaks on stage. Wasem warns that "a soundcheck and initial mix in an empty room is only the start of the mixing process," because the room's acoustics "can change very dramatically once the congregation fills the room," so expect to adjust. Leave a little time after the first song to check again.
What do you do when something fails?
Keep it calm and work from the source to the speaker.
- One mic is silent. Check the fader, the mute button, the gain, the receiver and the batteries, in that order.
- A mic squeals. Lower that channel, move the mic away from the speaker, or stand the singer farther from the wedge.
- Hum or buzz. Wasem's checklist says to listen for buzz or hum before the band plays. Unplugging one cable at a time until it stops is our suggestion: the last cable you removed is the likely cause.
- Nothing from the speakers. Check the main level on the mixer, then the amplifier power, then the cable between them.
- A wireless mic cuts in and out. Replace the batteries, move closer to the receiver and check the receiver is on the correct channel.
- Stream has no sound. Check the stream's audio source and that its meter moves.
- Nothing works. Turn the main volume down, power off in reverse and call the person on your note.
What order should you shut down?
Reverse the power-on order. The same ProSoundWeb tip says to turn off the amplifiers or powered speakers first, then processors, the mixer and the rest, and only then disconnect cables. Turn the main volume down before you switch off, put batteries to charge or out, and coil the cables over your arm, not around your elbow.
A printable fifteen-minute sound check card
Copy this and print it. Fill in the blanks for your mixer once.
15-minute sound check
Min 0 to 2: Batteries and power on
[ ] Fresh batteries in every wireless pack, packs switched on first
[ ] Spare batteries in the box
[ ] Main volume down
[ ] Playback and receivers on
[ ] Mixer and processor on
[ ] Amplifiers or powered speakers last
Min 2 to 5: Line check
[ ] Pastor headset or handheld speaks, meter moves
[ ] Every other mic speaks, meter moves
[ ] Silent channel: fader, mute, gain, receiver, battery, cable
Min 5 to 8: Gain
[ ] Pastor first, then the rest
[ ] Peaks at ____ on the meter (check your mixer's guide)
[ ] Gain first, then fader
Min 8 to 10: Monitors
[ ] One request at a time
[ ] No squeal; if so, lower that channel
Min 10 to 12: Stream feed
[ ] Listen on a phone, not the house speakers
[ ] Voice and music both audible, nothing clipping
Min 12 to 15: Final walk
[ ] Back, middle, front
[ ] Check again after the first song
Shutdown
[ ] Main volume down
[ ] Amplifiers or powered speakers off first
[ ] Mixer and processors off
[ ] Batteries out or on charge, cables coiled
When is another approach better?
If your mixer saves scenes, which are stored settings, a saved scene gets you most of the way, and the check is mostly confirming that the mics work. If the room has a permanent installation and a professional runs it, follow their procedure over this one. If a system has repeated faults, such as constant hum or a wireless mic that cuts out, bring in a technician. A volunteer's card is for a working system.
For the room itself, our booth layout and labelling guide helps a new volunteer find things. If you are thinking about new equipment, the guide to choosing a church sound system is the place to start.
Frequently asked questions
How long should a church sound check take?
Fifteen minutes is enough for a working system and a team that has done it before. Allow longer when a band is soundchecking or a new mic is in use.
What order do you turn on church sound equipment?
Sources and the mixer first, then amplifiers or powered speakers last. Turn them off in reverse, amplifiers first.
How do you set gain on a church mixer?
Have the person speak or sing at the real service volume and raise the gain until the meter peaks in the target zone for your mixer. Then set the fader. One X32 guide aims for peaks of about -12 dB to -6 dB; check your own mixer's guide.
How often should you change wireless mic batteries?
We suggest changing them before every service. One Shure page says two fresh AA alkaline cells should last about 8 hours in that body-pack, but check your own pack's manual.
What if the sound check finds a fault you cannot fix?
Turn the main volume down, note what failed and tell the team lead, then use a backup mic if you have one. Do not guess your way through a repair during the service.
Free printable PDF
Sunday setup and teardown checklist
The Sunday jobs your church media team does, in order: what to switch on, what to check, who owns it, and the backups to have ready.
Enter your email and confirm a code to download. We email you a copy the first time each day.
Try Church Media Kit
Review what’s included and try the tools that fit your church’s workflow.
A free account needs no card. Sermon to Social, Sermon Clips and Sermon Slides each give one free use. That is one sermon, one upload up to 2 hours, and one AI presentation. Church in bio is free for 14 days after you first publish it. Design and Verse of the Day are free with any account. Review the offer when choosing your plan.